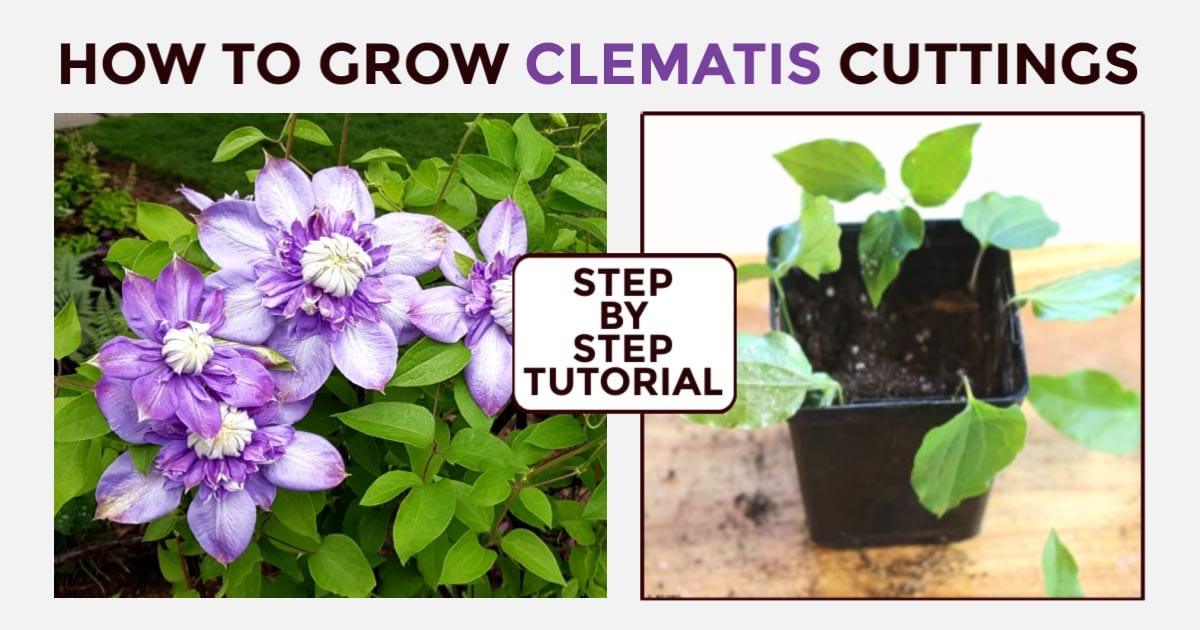
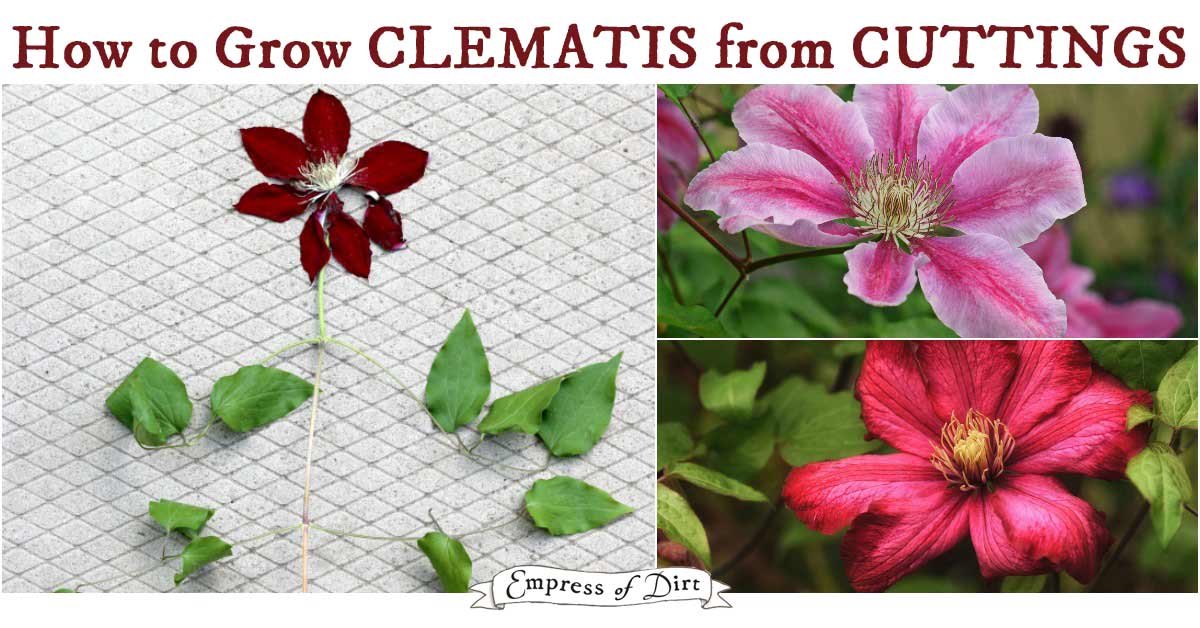
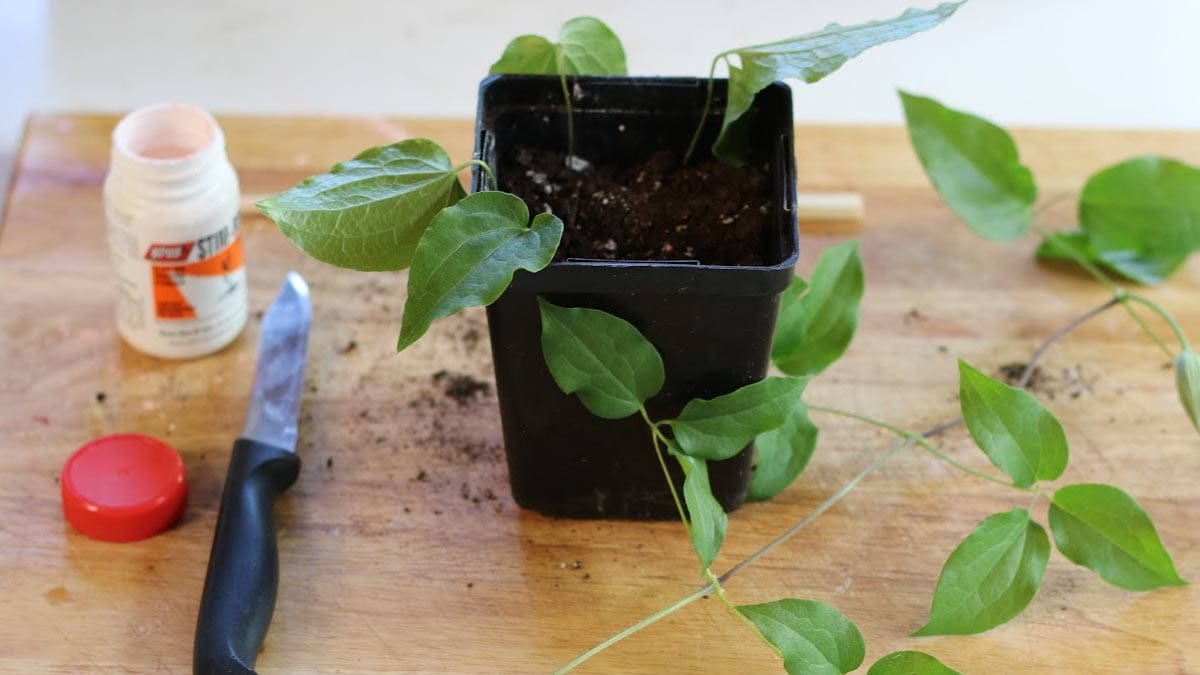
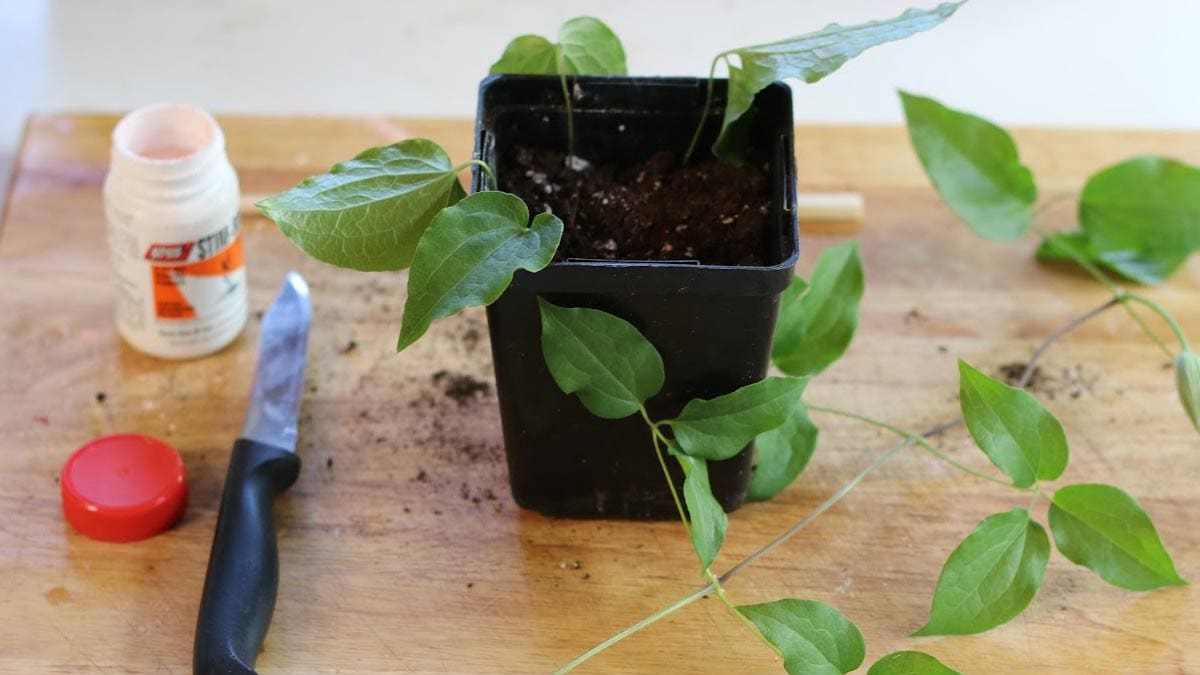
The Ultimate Techniques for Growing New Clematis Plants from Cuttings unlocks the secrets to successfully propagating these beautiful and versatile vines. From understanding the ideal time to take cuttings and choosing the perfect specimens, to mastering the art of preparing and rooting them, this comprehensive guide will equip you with the knowledge and skills to cultivate your own clematis haven.
Whether you’re a seasoned gardener or just starting out, this guide provides a clear roadmap to success. We’ll delve into the different types of cuttings, explore various propagation methods, and discuss the essential care practices needed to nurture your new clematis plants.
Join us as we unravel the intricacies of clematis propagation and discover the joy of growing these stunning blooms from cuttings.
Understanding Clematis Cuttings
Clematis cuttings are a popular method for propagating these beautiful flowering vines. This technique allows you to create new plants from existing ones, preserving their unique characteristics and expanding your garden collection. Understanding the different types of cuttings, the ideal time for taking them, and the best practices for selecting healthy cuttings will greatly increase your success rate.
Types of Clematis Cuttings
The type of clematis cutting you use will depend on the species and your desired outcome. Here are the most common types:
- Softwood Cuttings:These cuttings are taken from new growth that is still soft and flexible. They are typically taken in the early summer, when the plant is actively growing. Softwood cuttings are easier to root, but they may not be as vigorous as hardwood cuttings.
They are best for quick propagation.
- Semi-Hardwood Cuttings:These cuttings are taken from slightly older growth that has begun to harden but is still flexible. They are typically taken in late summer or early fall. Semi-hardwood cuttings are more likely to root than softwood cuttings, and they will produce more vigorous plants.
They are the most commonly used type of cutting.
- Hardwood Cuttings:These cuttings are taken from mature, dormant wood. They are typically taken in the winter, when the plant is dormant. Hardwood cuttings are the most difficult to root, but they will produce the most vigorous plants. They are best for long-term propagation.
Ideal Time for Taking Clematis Cuttings
The best time to take clematis cuttings depends on the type of cutting you are using.
- Softwood Cuttings:Early summer, when the plant is actively growing.
- Semi-Hardwood Cuttings:Late summer or early fall, when the growth has begun to harden but is still flexible.
- Hardwood Cuttings:Winter, when the plant is dormant.
Selecting Healthy Clematis Cuttings
Choosing healthy, vigorous cuttings is crucial for successful propagation. Here are some tips:
- Select cuttings from healthy, vigorous plants:Avoid taking cuttings from plants that are diseased, weak, or stressed. Choose cuttings from the current year’s growth.
- Choose cuttings with at least two nodes:Nodes are the points on the stem where leaves or buds grow. Cuttings with two or more nodes will have a better chance of rooting.
- Cuttings should be 4-6 inches long:This length provides enough surface area for root development.
- Cuttings should be free of pests and diseases:Inspect the cuttings carefully before taking them.
Preparing Clematis Cuttings

Preparing clematis cuttings is a crucial step in successful propagation. The right technique ensures the cuttings have the best chance of developing roots and becoming healthy new plants.
Removing Leaves from the Lower Portion of the Cutting
Removing leaves from the lower portion of the cutting is essential for promoting root development. This practice encourages the plant to focus its energy on developing roots instead of leaves.
- Select healthy, non-flowering stems from the current year’s growth. These stems are typically more vigorous and have a higher chance of rooting.
- Cut the stems into sections about 4-6 inches long, ensuring each section has at least two nodes (the points where leaves grow from the stem).
- Using a sharp knife or pruning shears, make a clean cut just below a node. This creates a flat surface for the cutting to sit on, encouraging root development.
- Remove all leaves from the bottom 1-2 inches of the cutting, leaving only the top 2-3 leaves intact. The leaves will help the cutting photosynthesize and produce energy for growth.
- Optional: Pinch off the top 1/3 of the remaining leaves to reduce water loss and encourage root development.
Using Rooting Hormone
Rooting hormone is a powder or liquid that promotes root growth in cuttings. It contains plant hormones that stimulate the development of roots.
- There are two main types of rooting hormones: auxins and cytokinins. Auxins are the most common type used for clematis cuttings.
- Dip the cut end of the clematis cutting into the rooting hormone powder or solution. This ensures that the hormone is applied directly to the cut surface.
- Apply the rooting hormone according to the manufacturer’s instructions. Too much hormone can be detrimental to the cutting.
- Ensure that the rooting hormone is evenly distributed on the cut end of the cutting. This maximizes the chances of root development.
Propagation Methods
There are several methods for propagating clematis from cuttings, each with its own advantages and disadvantages. The most common methods are softwood cuttings, semi-hardwood cuttings, and hardwood cuttings.
Mastering the art of growing clematis from cuttings can be a rewarding experience, and autumn offers the perfect time to take advantage of this technique. While you’re focusing on your garden, consider adding a trip to Harvest Moon Orchard to your autumn itinerary Why Harvest Moon Orchard Should Be on Your Autumn Itinerary for inspiration and unique finds.
After your visit, you’ll be even more eager to put your new clematis cuttings into the ground and watch them thrive in the coming seasons.
Methods of Propagating Clematis from Cuttings
The following table summarizes the different methods of propagating clematis from cuttings, outlining their advantages and disadvantages:
Method |
Description |
Advantages |
Disadvantages |
|---|---|---|---|
Softwood Cuttings |
Taken from new growth in the spring, these cuttings are soft and pliable. |
High success rate, relatively easy to root. |
Limited time frame for taking cuttings, requires a humid environment for rooting. |
Semi-hardwood Cuttings |
Taken from slightly older growth in late spring or early summer, these cuttings are more mature than softwood cuttings but still flexible. |
Higher success rate than hardwood cuttings, can be taken over a longer period. |
Requires more care during rooting, may take longer to root than softwood cuttings. |
Hardwood Cuttings |
Taken from dormant wood in late fall or winter, these cuttings are hard and woody. |
Can be taken and stored for later propagation, can be rooted outdoors. |
Lower success rate than softwood or semi-hardwood cuttings, may take longer to root. |
Creating the Growing Environment
Creating the ideal growing environment is crucial for clematis cuttings to develop strong root systems and thrive. A suitable environment ensures the cuttings have the optimal conditions for root development and healthy growth.
Factors Affecting Root Development
The following factors play a vital role in the success of rooting clematis cuttings:
Factor |
Description |
Ideal Conditions |
Importance |
|---|---|---|---|
Humidity |
The amount of moisture in the air surrounding the cuttings. |
High humidity (around 80-90%) |
High humidity prevents cuttings from drying out, which is essential for root development. |
Temperature |
The surrounding air temperature. |
Warm temperatures (around 70-75°F) |
Warm temperatures promote root growth and overall plant development. |
Light |
The amount and type of light the cuttings receive. |
Indirect, bright light |
Cuttings need light for photosynthesis, but direct sunlight can be too intense and dry them out. |
Caring for Clematis Cuttings
Once your clematis cuttings have successfully rooted, they require ongoing care to thrive and develop into healthy plants. The initial few weeks after rooting are crucial, as the young plants are delicate and need consistent attention to establish themselves.
Watering Clematis Cuttings
Watering is essential for the survival and growth of newly rooted clematis cuttings. Clematis cuttings prefer consistently moist soil, but overwatering can lead to root rot, which can be fatal. Here’s how to maintain optimal moisture levels:
- Regular Watering:Water the cuttings thoroughly, ensuring the soil is evenly moistened, but not waterlogged.
- Frequency:The frequency of watering depends on factors like climate, soil type, and pot size. During hot, dry weather, you might need to water daily, while in cooler climates, watering every few days might suffice.
- Moisture Check:To assess moisture levels, gently touch the soil with your finger. If it feels dry, it’s time to water.
- Drainage:Ensure the pots have adequate drainage holes to prevent water from accumulating at the base and causing root rot.
Fertilizing Clematis Cuttings
Newly rooted clematis cuttings require regular fertilization to provide the necessary nutrients for healthy growth. However, excessive fertilization can be detrimental.
While clematis cuttings require a bit more finesse than simply dropping a leaf, the process is still relatively straightforward. Similar to the propagation of succulents like Mother of Thousands, Your Complete Guide to Propagating Mother of Thousands Without Hassle , clematis cuttings benefit from a moist, well-draining medium and consistent humidity.
With the right techniques and a little patience, you’ll soon be enjoying a vibrant new clematis vine in your garden.
- Nutrient Requirements:Clematis cuttings need a balanced fertilizer that contains nitrogen, phosphorus, and potassium. These nutrients are crucial for foliage growth, root development, and flowering.
- Fertilization Schedule:Fertilize the cuttings every two to four weeks during the growing season. Use a diluted solution of a balanced liquid fertilizer, following the manufacturer’s instructions.
- Avoid Over-Fertilizing:Too much fertilizer can burn the roots and damage the cuttings. Always use a diluted solution and avoid fertilizing during periods of extreme heat or drought.
Hardening Off and Transplanting
After successfully rooting your clematis cuttings, it’s time to prepare them for life in the garden. Hardening off is a crucial step in acclimating your cuttings to the outdoors, ensuring their survival and healthy growth.
Hardening Off Clematis Cuttings
Hardening off is a gradual process that involves slowly introducing clematis cuttings to the harsh outdoor conditions they will face. This acclimation helps them develop a strong root system and toughen their leaves, making them less susceptible to shock and stress.
- Start with shade:Begin by placing your cuttings in a shady location for a few hours each day. Gradually increase the amount of time they spend outdoors, ensuring they are protected from direct sunlight and strong winds.
- Increase sun exposure:Over the next week or two, gradually increase the amount of direct sunlight the cuttings receive. Start with a few hours of morning sun and gradually increase the exposure until they are receiving full sun for several hours a day.
- Monitor for signs of stress:Pay close attention to the cuttings during the hardening off process. If you notice signs of wilting, scorching, or discoloration, move them back to a shadier location.
- Patience is key:Hardening off takes time, so be patient and don’t rush the process. Aim for a gradual transition over a period of 10-14 days.
Transplanting Clematis Cuttings
Once your cuttings have been successfully hardened off, they are ready for transplanting into their permanent locations. Choosing the right spot and following the correct planting techniques will ensure their continued growth and success.
- Select a suitable location:Clematis prefer well-drained soil that is rich in organic matter. They thrive in full sun to partial shade, with at least 6 hours of sunlight daily. Avoid planting them in areas with heavy clay soil or poor drainage, as this can lead to root rot.
- Prepare the planting hole:Dig a hole twice the width and depth of the root ball.
- Amend the soil:Mix in some compost or other organic matter to improve drainage and nutrient content.
- Plant the clematis:Gently remove the clematis cutting from its pot and place it in the prepared hole. Ensure the crown of the plant (where the roots meet the stem) is level with the soil surface. Backfill the hole with soil, gently firming it around the roots.
- Water thoroughly:Water the clematis deeply after planting to settle the soil and encourage root growth.
- Provide support:Clematis need support to climb and thrive. Install a sturdy trellis, fence, or other support structure near the plant.
Troubleshooting and Common Problems
While clematis cuttings are generally easy to root, there are a few common problems that can arise. Recognizing these issues early and addressing them promptly will increase your success rate.
Root Rot
Root rot is a common issue that can affect clematis cuttings, especially when they are kept in overly moist conditions. This fungal disease thrives in wet environments, damaging the roots and preventing the plant from absorbing water and nutrients.
Signs of Root Rot
- Wilting or drooping leaves, even when the soil is moist
- Black or brown, mushy roots
- A foul odor coming from the soil
- Slow growth or stunted development
Preventing Root Rot
- Use a well-draining potting mix that allows excess water to escape.
- Avoid overwatering. Allow the soil to dry slightly between waterings.
- Ensure good air circulation around the cuttings.
- Use pots with drainage holes to prevent water from pooling.
Treating Root Rot
If root rot is detected, it is important to act quickly to save the cutting.
- Remove the cutting from the soil and inspect the roots.
- Trim away any damaged or rotted roots with a sharp, sterilized knife or scissors.
- Repot the cutting in fresh, sterile potting mix.
- Consider applying a fungicide to the soil to prevent further infection.
Fungal Infections
Fungal infections can also occur in clematis cuttings, especially in humid environments. These infections can affect the leaves, stems, and roots, leading to discoloration, wilting, and even death.
Signs of Fungal Infections
- Brown or black spots on the leaves
- Powdery mildew on the leaves or stems
- Soft, mushy stems
- Premature leaf drop
Preventing Fungal Infections
- Provide good air circulation around the cuttings.
- Avoid overhead watering, as this can create a humid environment that encourages fungal growth.
- Use a fungicide spray as a preventative measure, especially in humid conditions.
Treating Fungal Infections
- Remove any infected leaves or stems and dispose of them properly.
- Apply a fungicide spray to the cuttings to control the infection.
- Improve air circulation around the cuttings.
Pests
Various pests can attack clematis cuttings, including aphids, spider mites, and whiteflies. These pests can damage the leaves, stems, and roots, affecting the growth and health of the cutting.
Signs of Pests
- Small, sucking insects on the leaves and stems
- Webbing on the leaves or stems
- Yellowing or distorted leaves
- Black sooty mold on the leaves
Preventing Pests
- Inspect cuttings regularly for signs of pests.
- Use insecticidal soap or neem oil to deter pests.
- Encourage beneficial insects, such as ladybugs and lacewings, which prey on pests.
Treating Pests
- Remove any visible pests by hand.
- Apply insecticidal soap or neem oil to control the infestation.
- Consider using a systemic insecticide if the infestation is severe.
Success Stories and Tips

Growing clematis from cuttings can be a rewarding experience, offering the satisfaction of nurturing a new plant from a small piece of the parent vine. Many gardeners have successfully propagated their beloved clematis varieties, sharing their stories and valuable insights that can inspire and guide others.
Inspiring Success Stories
Numerous gardeners have shared their experiences of successfully growing clematis from cuttings. These stories highlight the achievable nature of this propagation method, demonstrating that even beginners can achieve successful results with patience and the right techniques.
“I was hesitant to try growing clematis from cuttings, but after reading about the process, I decided to give it a go. To my surprise, it was much easier than I anticipated! I now have several new clematis plants thriving in my garden, all thanks to cuttings from my original vine.”
Sarah, an enthusiastic home gardener
Tips and Tricks from Experienced Gardeners, The Ultimate Techniques for Growing New Clematis Plants from Cuttings
Experienced gardeners often share valuable tips and tricks that can enhance the success rate of clematis propagation from cuttings. These insights, gleaned from years of practical experience, can be invaluable for both novice and seasoned gardeners.
- Select the Right Cuttings:Choose healthy, vigorous stems from the current year’s growth, ensuring they are not flowering or fruiting. Cuttings taken from the base of the plant often have higher success rates.
- Timing is Key:The ideal time for taking clematis cuttings is in the spring or early summer when the plant is actively growing. This ensures the cuttings have sufficient energy reserves for root development.
- Proper Preparation:Make clean, sharp cuts with a sharp knife or pruning shears, removing any leaves below the soil line. Dip the cut ends in a rooting hormone to encourage root growth.
- Create the Right Environment:Provide a warm, humid, and well-ventilated environment for the cuttings. A propagation bench or a mini-greenhouse can create the ideal conditions for root development.
- Patience is a Virtue:Root development can take several weeks or even months, depending on the variety and environmental conditions. Be patient and provide consistent care, avoiding excessive watering or drying out the cuttings.
Visual Guide to Clematis Growth from Cuttings
- Illustration 1: Taking the Cutting– This illustration depicts the process of selecting a healthy stem from the current year’s growth and making a clean, sharp cut with a sharp knife or pruning shears. The cut is made just below a node, where roots will develop.
- Illustration 2: Preparing the Cutting– This illustration shows the removal of leaves below the soil line and the dipping of the cut end in a rooting hormone to encourage root growth. The illustration emphasizes the importance of making clean cuts and using a rooting hormone.
- Illustration 3: Planting the Cutting– This illustration depicts the planting of the prepared cutting in a suitable medium, such as a mix of peat moss and perlite. The cutting is planted at a depth that ensures the nodes are buried, allowing for root development.
- Illustration 4: Root Development– This illustration shows the gradual development of roots from the nodes of the cutting. The roots grow downwards into the medium, anchoring the cutting and absorbing nutrients and water.
- Illustration 5: New Growth– This illustration depicts the emergence of new shoots from the top of the cutting, indicating successful root development and the beginning of new plant growth. The illustration highlights the importance of providing adequate light and moisture for the new plant.
Conclusive Thoughts: The Ultimate Techniques For Growing New Clematis Plants From Cuttings

Growing clematis from cuttings is a rewarding journey that allows you to expand your garden with these exquisite climbers. By following the techniques Artikeld in this guide, you’ll gain the confidence to successfully propagate your own clematis plants, unlocking a world of possibilities for your garden’s beauty and your horticultural skills.
So, gather your tools, embrace the process, and watch as your cuttings transform into vibrant, flowering clematis vines that will grace your garden for years to come.
FAQ Section
What are the best tools for taking clematis cuttings?
Sharp, clean pruning shears or a knife are essential for making precise cuts. You’ll also need a container for holding your cuttings, a rooting hormone, and a propagation medium like vermiculite or peat moss.
How long does it take for clematis cuttings to root?
Rooting time can vary depending on the type of cutting, the propagation method, and environmental factors. It typically takes 4 to 8 weeks for clematis cuttings to develop roots.
Can I propagate clematis from seed?
While possible, clematis propagation from seed is more challenging and time-consuming than using cuttings. Seed-grown clematis may also take longer to bloom.
